I recently got tired of wearing quite a lot of make-up and worse still I wore it every day. I actually did stop or more like took a break but I seriously did not like how pale my face was. This was when I decided to get professional lash extensions done. Seriously, it made my face better. The thing is, I was not a lash extensions person during my everyday makeup period. I was just fine with some mascara but after I tried on some extensions and it raised my natural face card bar, I decided that was it. Yeah, I’m a false lash extension person now, take my signature, I’m signing in. During this period, I used make-up for some outings and these same lash extensions raised my face beat to the tops and I’m like hell yeah! Then I double-signed in.
If you are wondering what professional lash extensions are or you are yet to understand what I’m talking about then I should give you a brief about lash extensions.
What are lash extensions?
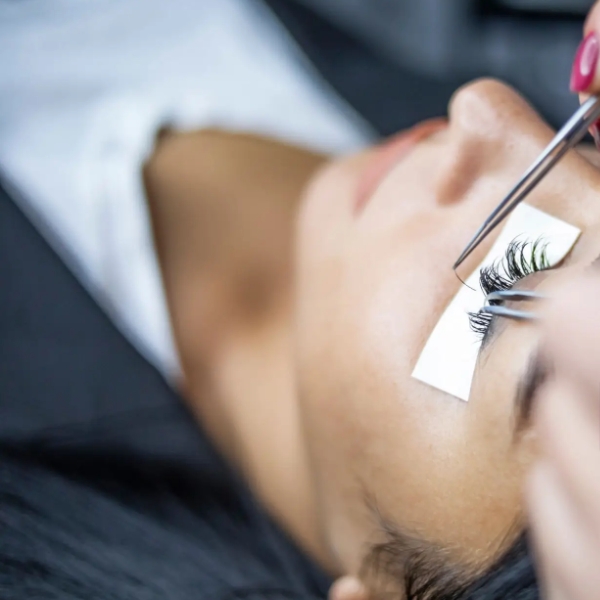
Lash extensions are individual lash fibers that are bonded with industrial-strength glue into the natural eyelashes. This extends the natural length of your eyelashes making them look darker, fuller, thicker, and curlier. It generally makes your natural eyelashes look 10 times better and it lasts for 6 weeks. This is done by a professional lash extension technician. You have to fix an appointment with these professionals and then spend hours on the procedure.
Cons of professional eyelash extensions
The truth is, we won’t have that luxury of time sometimes. What then happens when lashes need to be on the flick and there isn’t time for fixing or appointments get canceled for one reason or the other? Or what happens if just like me, you don’t have the lashes beauty budget at the time but your lashes need to get done? Yeah, I was low on a beauty budget at the time.
After some weeks of rocking my lash extensions, it wore off. I had to take it off through a special removal procedure. I wanted to get a new one done but I didn’t quite have the lash extensions beauty budget at this time. I’d say I’ll go back to my mascara maybe but the lash extensions removal got me rethinking that Idea. This is because my natural lashes were left scanty due to the extension’s ultra-strength glue. At this point, mascara was not an option as my natural lashes looked like I was born with 6 strands of lashes. Since I couldn’t cough out some money for some professional lash extensions and I also couldn’t manage to rock my natural lashes, I had to look for a solution. I got a strip lash extension.
What about strip lash extensions?
I can say strip lash extensions helped for quite some time. The strip extension lash line was thick and it felt quite heavy so I had to pull it off in hours. It also sometimes ruins my make-up during the fixing procedure
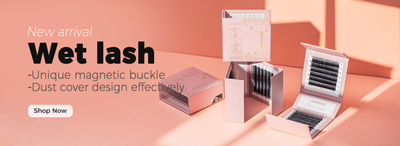
I later came across a lash extension line online and decided to try it out. This was Gollee DIY lashes and it changed my lashes game! I looked glamorous without much effort.
What are DIY lashes?
DIY lash extensions are like professional lash extensions. Its difference compared to permanent lash extension is that;
- It is fixed under the natural eyelash, just near the natural eye line. False lashes are fixed on the natural eyelash
- It is budget-friendly
- You can fix them yourself without a professional lashes technician’s help
- You can fix them comfortably at home
I checked out Gollee DIY lashes online and found out they’re a professional cosmetic manufacturer and supplier in China which was founded in 2017. They produce individual lash extensions. They also make available every piece of equipment you’ll need to fix your lash extensions. Their goal is to help you have an easy lash extensions application at your convenience and right at home.
Gollee DIY lash extensions are soft and compared to the first false lashes I tried, they are weightless. They are made of high-quality synthetic fiber.
Benefits of at-home DIY lash extensions
Apart from the fact that you can fix these lashes by yourself at home, it also gives a good result. This is because they can fit into your eye shape as they are flexible and also in clusters.
They are also bonded safely and easy to remove without leaving your natural eyelashes scanty as the professional lash extensions fix.
Why Gollee DIY lashes?
Gollee DIY lash extensions come in clusters of different lengths of 8 inches, 10inches, 14inches, 16 inches, and more that help you to play around with your looks. You can get a natural or dramatic look when you fix them up in different lengths.
Ordering Gollee DIY lash extensions from Gollee cosmetics is a smooth experience as you will get your package delivered on time even for an impromptu occasion you did not plan for like I experienced. Gollee DIY Lash Extension package is in a kit form which made me realize that Gollee cosmetics had made sure to make available pieces of equipment that will make fixing your Gollee DIY lash extensions at home easy.
The following are pieces of equipment you’ll need and can get from Gollee cosmetics to have a fun and easy at-home DIY lash extension fix procedure:
DIY Lash extensions equipment
1. Gollee lash glue: This comes in two types. There is black glue and white glue to give you a choice of preference. They are water, sweat, and tears resistant. Their ultra-bonding strength makes your lashes last up to 2 weeks. It does not irritate or sting the eyes. It also dries rapidly. If you’re torn between picking one of the two glue types, these differences will help you:
- Gollee black lash glue: this needs to be put on a surface where you can easily dip your DIY lashes end into to then apply for fixing.
- Gollee white lash glue: this comes with a pointed end made to easily spread on your natural lash line as you fix the DIY lash directly. This glue, although white ends up looking transparent and natural.
2. Cleanser or wipes: with oils or mascara on the natural eyelashes, fixing a perfect and lasting DIY lash extension might just remain a dream. It’s advisable to get rid of oil and mascaras from your natural lashes for better adhesive bonding using professional cleansing foam. This is because oil and mascara affect the bonding strength of the lash glue making it look wobbly or even fall off. It’s important to concentrate on your eye area while using the professional cleansing foam so that no oil or mascara is left.
3. Gollee Lash curler: for your DIY lash extensions to sit well, you need to curl your natural lash to keep it in place. This process will make sure your natural eyelashes do not get in the way of your DIY lash extensions when fixed.
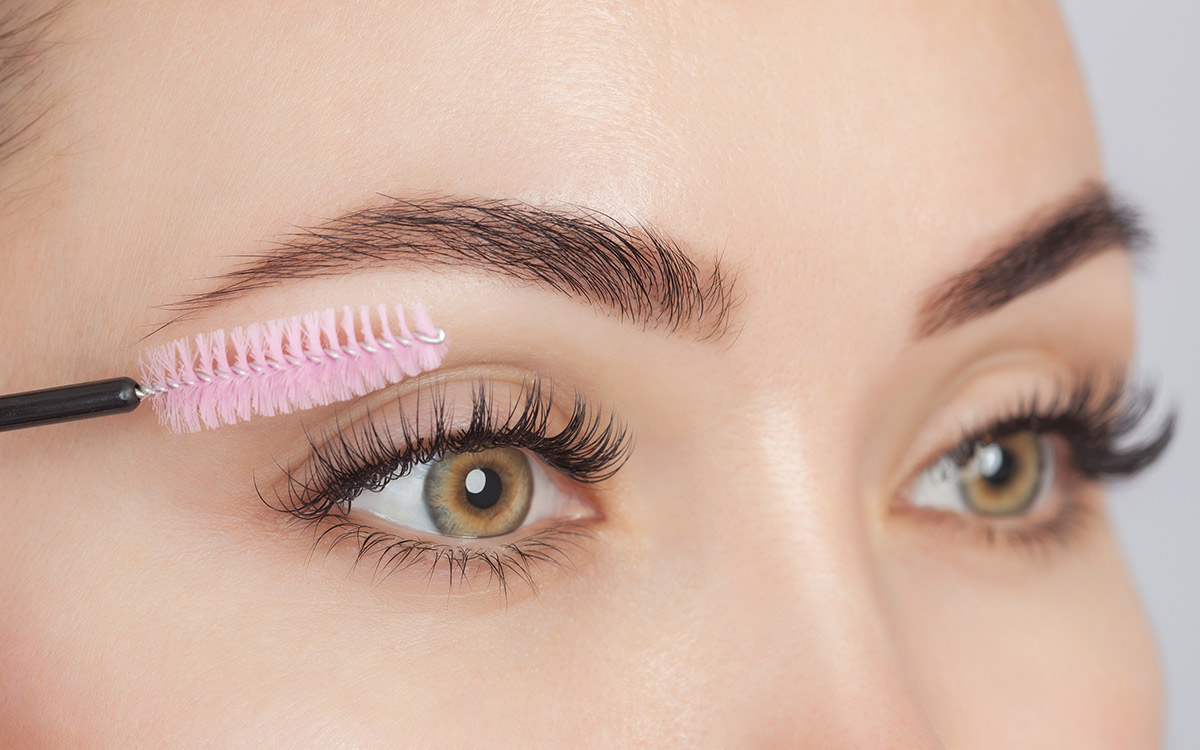
4. Gollee eyelash brush: this is used to brush out your natural lashes to better arrange them before fixing the extension. This will help to give your lashes a clean finished look.
5. Gollee tweezers: they help to hold your DIY lash extensions in the process of picking and sticking them on your natural lash line. You will also use it to hold firm your natural lashes to the lash extensions while the glue dries. Gollee cosmetics have two types of tweezers.
- Gollee tapering head tweezers provide a great grip in picking up lash extensions of any size and placing them on your natural lash line.
- Gollee dolphin-shaped tweezers fit perfectly the curvature of the eye and help to hold firm together the DIY lash extension and the natural lash while the glue dries.
Note that using the tweezers and gaining control may require practice but as you use them often, it becomes easier to handle.
6. Mirror: since you are fixing these lash extensions at home and probably by yourself, you’ll need a mirror to guide you in the process and also get feedback on what you’re fixing while on it
Stuff to do away with before fixing a DIY lash extension
1. Get rid of all oils and mascara on your natural eyelashes
2. Don’t clean your natural lashes with cotton wool or abrasive materials to prevent the cotton puzzle from getting stuck on the eyelashes
3. Don’t drink caffeine so your eyes don’t end up twitching during the fixing process.
4. Make sure to pack your hair back so it doesn’t get in the way of the fixing

Step by Step guide on how to fix Gollee DIY lash extensions
The knowledge of how to fix lashes generally has become prominent in recent times. Nowadays, you can easily access the know-how for most lashes. Gollee DIY lash extensions aren’t any exception. Like most other lashes, you can easily access this knowledge and apply it without the service of a professional. It is just the beauty of this current dispensation. This section of this article offers the insight you need.
The following is the step-by-step procedure for fixing your Gollee DIY lashes:
- First thing is to clean your natural eyelashes. You can do this by generally washing your face with a cleanser or using wipes but concentrate on your lashes area. The cleanser or wipes would be used to clean any oil or mascara that might be on your face before fixing the lash extension. The oils and the mascara have to be removed because they weaken the bonding strength of the lash extensions glue.
- The next step is to get a mirror positioned close to you. The essence of the mirror is to help guide you in fixing this lash extension appropriately. It would also help to ensure safety so that you don’t get to injure yourself and also you can fix the lashes neatly.
- You then ensure that your hair is well packed, specially packed to the back. This would help to prevent the hair from mistakenly getting in the way and disrupting the whole process making it unpleasant
- With the eyelash brush, brush out the natural eyelashes so they would be well and nicely arranged in a position that would make fixing easier.
- After this then you make use of the curler lash to curl the lashes. This would ensure that the lash extension can be fixed neatly on your natural eyelash line area and also give an appearance of a natural finish.
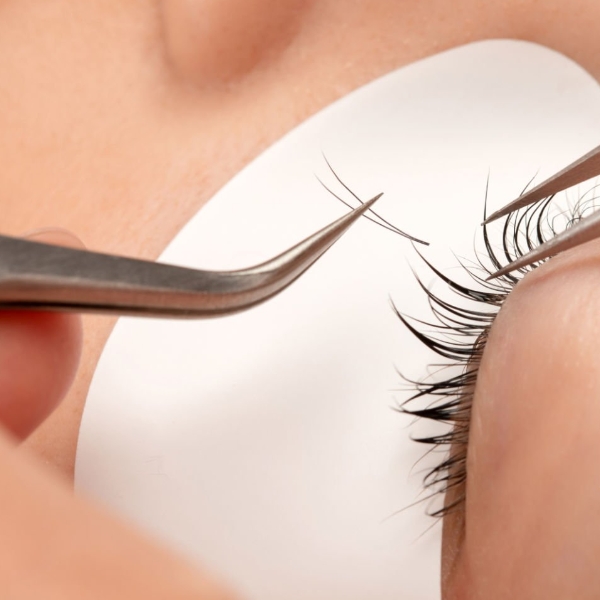
- With all these said and done, pick up the lash extensions using the tweezers, preferably, pick the lash extension in the middle which is proximal to the tip. With the tweezer still attached to the lash extension, apply the glues to the lash extension. If you are wondering why we emphasized picking the lash extension in the Middle, it is simple, picking the lash extension in the middle gives you a sort of leverage in the fixing process as you would be able to properly view the base and set it on your natural lash line in an easy way guided by your mirror.
- For the glue that does not have pointed tips at the point of application, place the glue on a neat plain surface to make use of it. Immediately after putting some glue on the plain surface, gently place the base of the lash extension on the glue and then you can proceed to fix it on your natural lash line.
Although there have been many reviews on the internet that seem to suggest that the Gollee White Glue is preferable because it is thought to be easier to apply well but that is a topic for another day. You can get more information on the various types of glues available for Gollee on the official website.
As a note of warning, moderation is very vital in this whole process. You would need to be moderate particularly when you are applying the glue on the lash extension. An excessive application of the glue could cause the lash extension to be stuck together and could make the whole process messy.
- That said, after you might have applied the glue on the Gollee DIY lash extensions (By now ensuring it is still on the tweezers, it shouldn’t leave the tweezers) you should ensure it gets almost dry. Once you notice it is a bit dry, then you can gently place the glued Gollee DIY lash extension on your natural lash line.
As a note don’t get the lash extension too close to your eyelid and so you need to be careful and gentle with the fixing on your natural lash line.
- Once it is on your natural lash line, using the tweezers, gently press the attached Gollee DIY lash extension to your natural lash line with the tweezer so it can get firmer. Then you do the same over and again till you cover the eyelash. At first, it might be uneasy for some people to attain perfection but with practice, you get better.
Also, note that we advise that you begin the fix starting from the outermost corner of the eye as it would make the whole process of fixing smooth and well array with decent space between them. If you desire to have a winged look, we advise that the outer corner of the eye gets the longer lash extensions and then it spreads to the shorter one.
Yup!! This is all you have to do and you are ready to slay. You are set to start rocking that gorgeous look. However, make sure those lashes are dry and don’t pull them.

DIY Maintenance
For maintenance after fixing, ensure that you avoid oil-based eye make-ups or oil-based make-up removal and cleansers. Remember oils weaken the lash glue strength. Adhering to this advice will help your DIY lash extension to last longer and stay firm. With this, you should be able to use it for at least 2 weeks.
Conclusion
The whole essence of this process is to look beautiful and irresistible. Initially, you might not be perfect in the process of fixing but you can be sure that you would enjoy the process with practice. It would be fun and a pleasant first-time experience from which you can learn and work your way up as a pro. One thing that seems to fascinate people about this product is that you are guaranteed a great return on your investment as Gollee DIY lash pack lasts a while before you will have to replace it.
While there might be a variety of options to choose from you can certainly be sure that Gollee DIY lash extensions are certainly the best option out there that guarantees so much return value.
This is because, in addition to all the stated benefits, you can trust the service delivery of Golle Cosmetics as they deliver promptly. They also offer options to choose the form that best suit you. It is such a great bargain!!