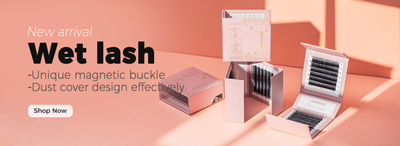
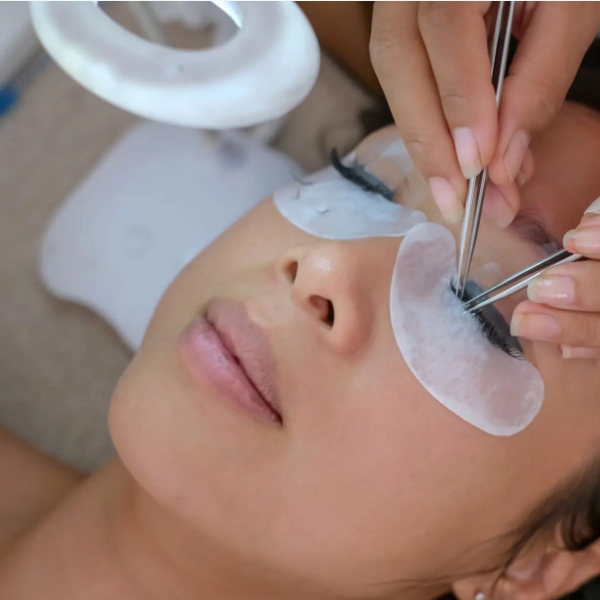
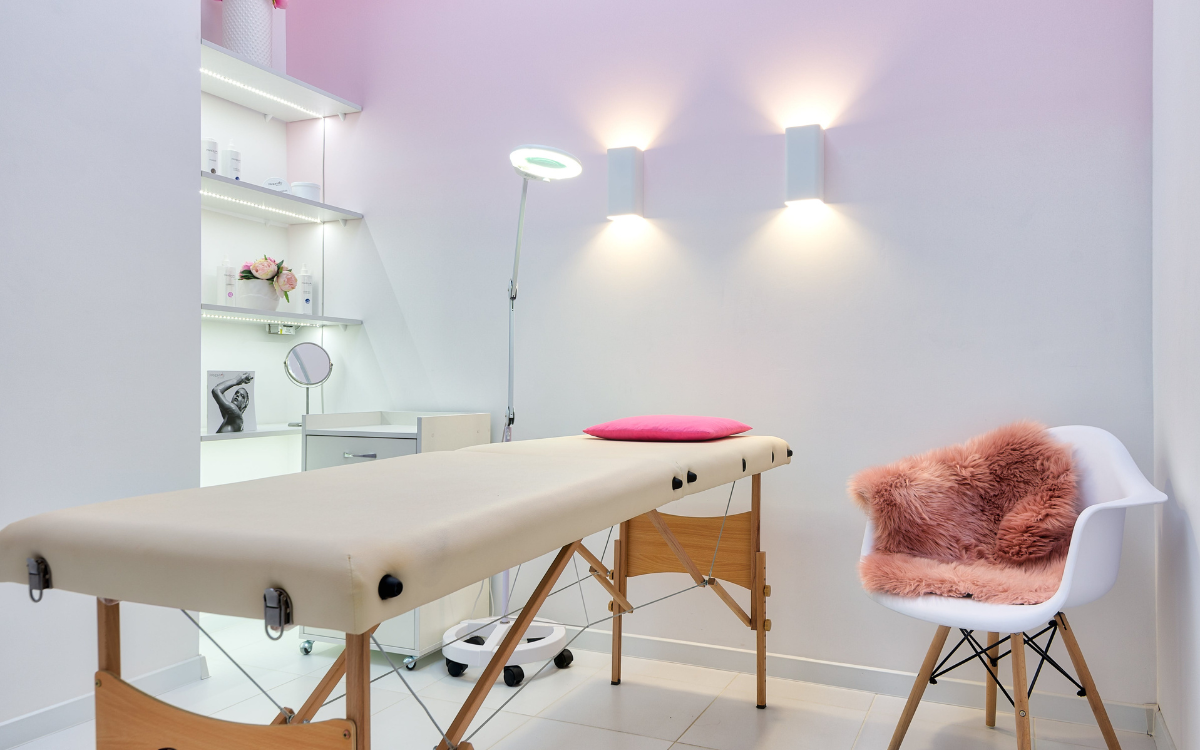
Today, we are going to talk about eyelash extensions, specifically how to do volume eyelash extensions. And we are going to be using our very own products. So stay till the end, and you'd be sure to learn a thing or two.
So, volume eyelash extensions. What are they?
If you didn't know before, when two or more individual extensions get glued to each natural lash, they would become volume eyelash extensions.
The desired number of lashes is first fashioned into fans, then spread out into a "bouquet" and adhered with glue to one natural lash. This fashion style is also called Russian volume. If you have been learning about lash extensions, you may have heard about "Russian volume extensions."
First of all, people love them! And that is something for you to take note of if you are a newbie lash artist. Russian volume never goes wrong. So yes, it produces a considerably more dramatic appearance, but it does require more precision and skill, and you'll need a larger budget.
Mega Volume fans are those constructed with six or more extensions. Please be aware that not everyone is a good candidate for Mega Volume. Professional lash artists will examine your natural lashes to decide whether they are sturdy enough to accommodate Mega Volume fans.
PRO-TIP: Volume eyelash extensions are not classic eyelash extensions!
Single extensions are attached to each natural lash in a classic eyelash extension technique. Since one extension goes on each eyelash, it's commonly referred to as "one-to-one."
To apply each medium and mature lash, a lash artist first dips the end of each extension into the glue before placing it on top of or beneath your natural lash.
Classic is the best option for a more natural appearance that results in lovely, longer-looking lashes. Since it has been around the longest, you can complete this lashing more rapidly than volume looks, particularly if you are skilled as a technician.
Tools Needed for Volume Eyelash Extensions
As we said earlier, we will use some of our products today and walk you through the process of making volume eyelash extensions. Don't worry. It would be as though we are right by your side!
You are going to need some lash extension products:
- Elite master glue
- Super bonder
- A tweezer (preferably a boot tweezer)
- A 0.05c mix tray (ours goes from 8mm to 16mm)
- Eyelash enhancing serum
- Eyelash extensions
- Eye pads
Step By Step Process: 16 Steps
If you are dealing with a first-time client, be prepared to explain the entire process to them first. This is because we have found that first-time clients are usually nervous. Now, you want your clients to rest assured all through the process. You need them to trust your skills. So explain the process carefully to them. After that comes the following.
1. Start by cleansing the client's lashes with a foam cleanser. Most materials you utilize during a lash service ought to be disposable. Throughout the procedure, lash wands are utilized to brush through the lashes and can also be used to clean the lash line thoroughly.
The bristles cling to every piece of lash line detritus. Although you might disinfect it by dipping it in Barbicide, the particles would still be there and might spread to another client. You can prepare your client's lashes before applying for extensions or performing a lash lift service using Lash Wands, Flocked Foot Applicators, Micro-Tip Swabs, Eyelash Cleansing Brushes, and Matte Gel Eye Pads.
To encourage proper lash aftercare habits at home, you should provide your client with Lash Wands, and Eyelash Cleansing Brushes after the service. You must then put the other tools in the trash.
2. After cleaning your client's lashes, dry them gently with a damp cotton round. Don't use water to clean them — not everyone likes that. Remember that you must get those natural lashes nice and clean.
3. Put the under-eye pads on the clients carefully. Make sure the bottom lashes get completely tucked away. (Remember to explain this crucial step to your clients).
4. Then, use tape and map out your client's eyes. Start with nine and go all the way to 12. (If you are making a dull eye, for instance, you may want to go back down to 11 and 10).
PRO-TIP: If your client is a first-time lash extension user and they don't have a specific request in mind, you can make dull eyes.
5. Carefully take out the lash extension strips. Our Gollee Cosmetics lash extension strips are easy to peel off, and you can return them in the case for future use.
6. Take your glue and shake well for 2-5 minutes.
7. Gently squeeze the bottle and place the drops on a jade stone.
8. Fan out the extensions and dip them into the glue.
9. Start applying them to each one of her natural lashes. (Lash experts may do 3D to 6D fans to mimic a classic eyelash extension). You can mix 2D or 3D fans with 6D fans because it helps mimic a classic extension.
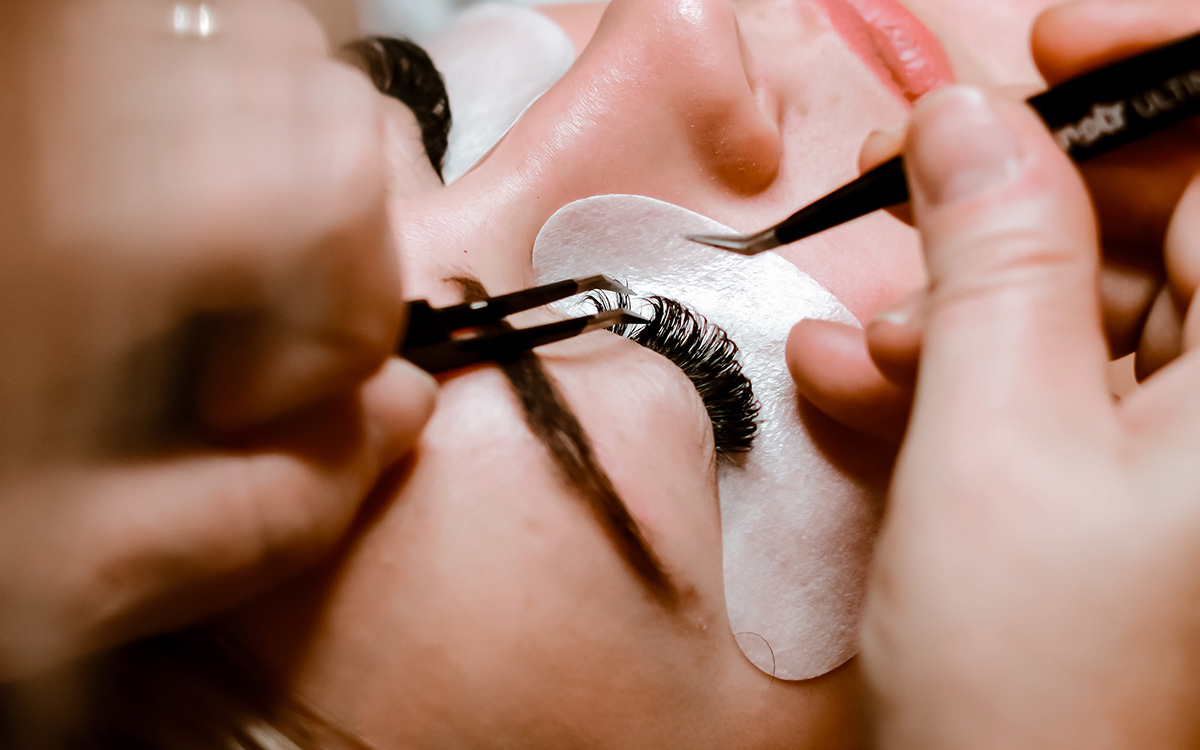
PRO-TIP: Some clients may be unable to keep their eyes still during this process. That is why we recommend walking them through the process first, especially if they are first-time clients.
Now, clients can not keep their eyes relaxed because they are nervous or have had too much caffeine. We recommend advising your clients to stick to one cup of coffee during consultations. However, with time and practice comes mastery. Soon, you'd be able to get an excellent job whether or not your client's eyes are shaky.
10. Use the Taping Trick. The taping trick is simple. All you have to do is use tape and lift the lashes that already have extensions. This will expose the bottom layer of your client's natural lashes, making it a lot easier for you to add extensions to them. The taping trick lets you see a lot better, so you can isolate a lot better. Isolation and placement are very important for eyelash extensions — don't forget!
11. Dry the lashes with a hand dryer and as you do so, search through the lashes and make sure there is nothing sticky.
12. Use a nano-mister as you dry the lashes.
13. Wait three minutes before using your super bonder. Take the small micro swab tip and carefully apply the super bonder to the extensions. Make sure to apply the super bonder from the base to the bottom of the eyelash extensions. You want to put the super bonder where you must put your lash glue. Don't go all the way up the eyelash extensions. Focus on the base.
PRO-TIP: While applying your super bonder, keep your dryer running the whole time so the adhesive can continue to dry.
14. As you apply the super bonder with your dryer on, brush out the lashes here and there a lot of times.
15. Use your dental mirror and double-check! Ensure the eyelids are not sticking so your client can open her eyes just fine.
16. Remove the under-eye pads. Do this by lifting the eyelids a little bit. Remember that the tape will tug at the bottom lashes a little bit, so you want to be gentle during this step. And tada! Your client's volume eyelash extensions are complete!
Common Errors to Avoid When Making Volume Eyelash Extensions?
The most common error is hurrying. People must understand this craft takes time, especially handmade fans. Many lash artists are self-critical because they believe they are too slow. Listen, other people may be faster, but speed isn't excellence.
Naturally, with practice, you'd get faster. But never be in a rush to finish volume eyelash extensions. This may result in hazardous adhesive bonding and tight fans. You can also take an online course or get a mentor or teacher to sharpen your skills and increase your speed. Because we don't always see ourselves clearly, self-training is a mistake.
Who Should Get Volume Lashes Among Clients?
Volume lashes give the appearance of a full, lush lash line that is fluffy and silky and ideal for clients who have sparse lashes, bald areas, or want to achieve a more dramatic look without using a thicker lash.
Most people can wear volume lashes, but you should exercise the same caution you would with traditional eyelash extensions and always disclose the dangers and materials involved before beginning. Each client is unique, so if a client lacks the natural lashes needed to sustain volume, think about constructing a hybrid set.
Volume Eyelash Extensions Best Practices
- Use a pallet made of jade stone. Use your glue to form a dome. Carefully insert the fan's base into the dome's very top. This will assist in keeping glue away from your tweezers and low on the fan.
- When manually creating fans, focus on deep breathing. The energy in your body will cause the hairs to respond. Your hands will reflect your level of tension or anxiety. Don't be reluctant to take a quick seat to refresh. A quick drink of water will also help you relax and return to your natural flow state.
- When perfecting your craft, be patient. Take your time transitioning from student to practitioner. The amount of time it takes to learn generally decreases with infinite patience with oneself. Rushing might lead to undesirable behaviors like unsafe bonding or too-tight fans.
- During downtime, practice. Even famous artists practice to draw in more fans again and again.
- Use quality products. High-quality volume products are necessary to support the best artists.

Conclusion
We do hope you had an amazing read! And we hope you feel confident and ready to try your first volume eyelash extension technique.


