
Have you ever been in the middle of a particularly long workday when your blood sugar was dangerously low, causing your hands to shake?
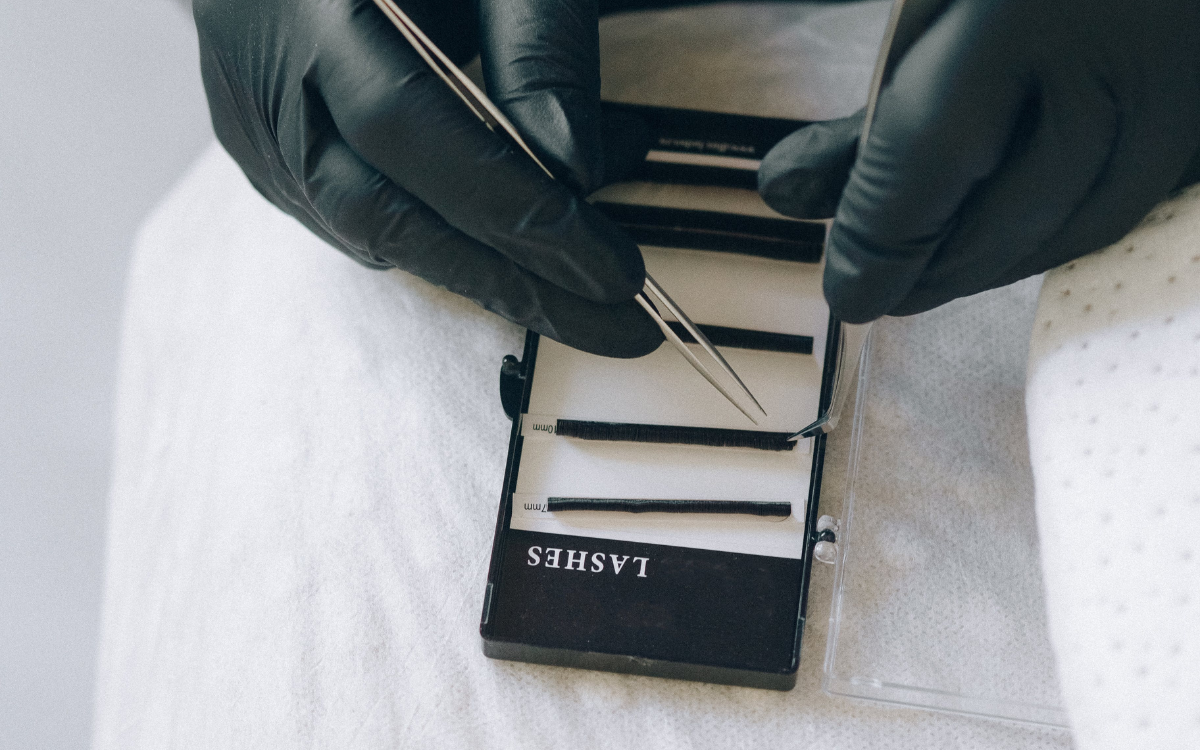
As lash artists, we need to take care of our bodies.
We maintain an unnatural position for extended periods by sitting.
We need very steady hands and excellent eyesight to complete this task.
In addition, we frequently only have a few minutes between clients to grab a snack, and we need to be conscious of the odors that food leaves behind on our bodies and in the studio.
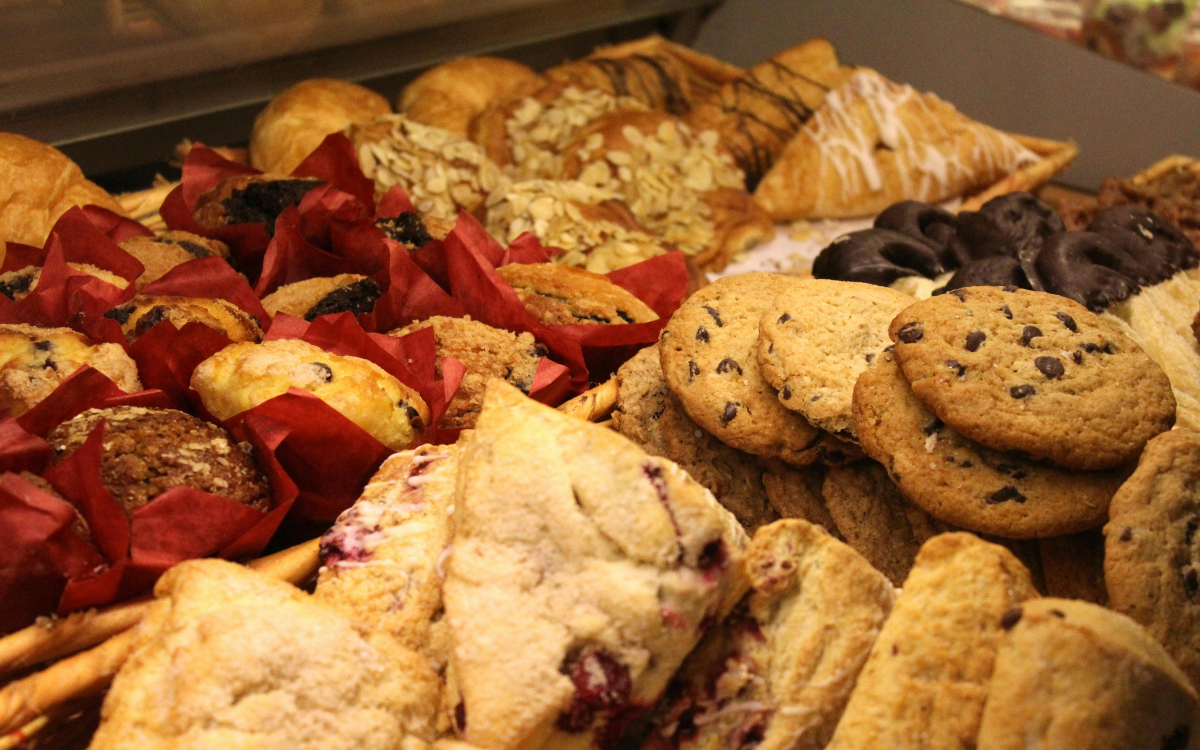
Here are some of our favorite snacks for the lash artist workday:
Egg-roll ups
Time spent in preparation: fewer than thirty minutes
Cooking time: fewer than ten minutes
Serves: It serves six.
These rolls are delightful; the eggs adhere to the wrap, making rolling them a breeze, and the finished product is both delectable and transportable.
Ingredients
- 6 free-range eggs
- 1 tablespoon of dried parsley granules 1 teaspoon of garlic
- ½ tsp salt ½ tsp black pepper oil for frying
- 6 miniature wraps made of tortillas
- 85 grams or three ounces of sliced black olives (the weight of the olives after the jar was drained)
- 100 grams (312 ounces) of button mushrooms, fresh, frozen, or canned, sliced (optional), and defrosted if frozen.
- 6 tsp sun-dried tomato paste
Method
- After breaking the eggs into a bowl, add the parsley, garlic granules, salt, and pepper, and thoroughly combine the ingredients.
- Place a frying pan of appropriate size over medium heat, then add two teaspoons of oil. At this point, it is important to carefully separate the tortillas from one another by carefully peeling them.
- Place the olives in one bowl and the sliced mushrooms, if any are being used, in another bowl, and keep both bowls close at hand. If the eggs don't sizzle when you pour them into the pan, the heat must be turned up slightly. Pour three tablespoons of the egg mixture into the pan.
- Place a few slices of olives and mushrooms in a random pattern on the wet egg mixture.
- Put one teaspoon of sun-dried tomato paste on one side of a tortilla wrap, and then roll it up. Put the tortilla on top of the egg as quickly as possible, with the paste side facing down. While cooking the egg and wrap, prepare the following wrap and spread it with the paste.
- Applying pressure to the top of the tortilla with the back of a slotted spatula will assist in evenly distributing the egg inside the wrap. Cook for no more than 30 seconds, and then, as soon as the egg has adhered to the tortilla, flip it over and continue cooking on the other side for another 30 seconds just to warm it through.
- Remove the pan from the heat and transfer the tortilla and the egg to a plate. After it has cooled enough to be touched, roll up the entire thing. Repeat steps (a) and (b) with the remaining wraps until the egg has been used. Serve.
Recipe Tips
This dish can be frozen successfully. Put any leftovers in a freezer-safe container, wrap them in cling film, and then place them in the freezer. Once ready to consume the leftovers, place them in the refrigerator to defrost.
Banana Oatmeal Cookies
Cook Time: 20 minutes
Total Time: 20 minutes
Yield: 12 cookies
Ingredients
- 1 cup of oats, either rolled or quick
- 2 overripe bananas
- Optional chocolate chips amounting to 1/4 cup 3-4 tablespoons of peanut or almond butter
- optional 1/8 tsp salt
Instructions
If you plan on baking the banana cookies, ensure the oven is preheated to 350 degrees Fahrenheit. In a separate bowl, mash the bananas. To make a dough, combine the oats, chocolate chips, and optional salt in a mixing bowl. Place in the refrigerator until the mixture is firm enough to be scooped with a spoon or cookie scoop. Either bake the cookies on a baking tray lined with parchment paper for twenty minutes or freeze them until they are firm to make no-bake cookies.
Banana oat cookies that are good for you
Delicious and nutritious, these chocolate chip banana oatmeal cookies are a must-make.
They're stuffed with healthy oats, ripe bananas, and chocolate chips and are sure to become a new family favorite.
All you have to do is combine the ingredients, form the dough into cookies, and enjoy. Make it from start to finish in just 20 minutes with zero eggs, butter, or flour!
Simple, three-ingredient cookies
Who would have thought something so basic could be so delicious?
Vegan, gluten-free, oil-free, low-fat, and refined-sugar-free variations of these 3 ingredient chocolate chip cookies (or 2 ingredient cookies if you omit the chocolate chips) are possible.
The problem is that there are so many delicious oatmeal cookies that it's hard to eat just one.
Ingredients for Banana Oatmeal Cookies
Bananas, rolled oats, quick oats, and chocolate chips (regular or mini) are all you need to make these healthy whole-grain cookies.
Numerous variations are possible with this recipe. Swap the chocolate chips for raisins, toss some chopped walnuts, or add a handful of shredded coconut.
A quarter teaspoon of cinnamon and pure vanilla extract, or a drop of almond extract, goes wonderfully in these oatmeal banana cookies.
The sweetness of these nutritious cookies is amplified by adding salt to the dough, which is optional.
Banana Oatmeal Cookie Recipe
If you intend to bake the cookies, do so at 350 degrees Fahrenheit.
Bananas should be mashed with a fork in a big bowl. To make oatmeal cookie dough, add the oats and any other ingredients you'd like to use.
Chill until the batter can be scooped with a spoon or a cookie scoop.
Banana cookies can be made without an oven if frozen until firm. Alternatively, roll the dough into balls and place it on a baking sheet lined with parchment paper. Bake at 350 degrees for 20 minutes.
Refrigerate or freeze any leftover banana oat cookies in an airtight container for maximum freshness. They can be stored in the fridge for up to five days or in the freezer for three months. Defrost the food first.
Salted Almond Butter Stuffed Dates
Prep: 5 minutes
Cook: 0 minutes
Total: 5 minutes
You only need THREE ingredients (including salt) and less than five minutes of your valuable time to make these Salted Almond Butter Stuffed Dates. They will satisfy all of your cravings for sweet foods. The "recipe" for the easiest sweet treat you'll ever make!
INGREDIENTS
- 4 large soft Medjool dates
- 2 tablespoons of smooth almond butter (the brand sold at Trader Joe's is my favorite).
- A sprinkle of coarse salt (either kosher or sea salt)
INSTRUCTIONS
- To get rid of the pits, cut the dates in half lengthwise with a sharp knife and pull out the pits. Remove the pit from the date using your fingers, making sure not to separate the two halves of the date as you do so.
- To stuff the dates, add about a half tablespoon of almond butter to each date, and then sprinkle a small pinch of salt on top of each date before serving.
NOTES
The use of salt is discretionary and can be done according to personal taste to accentuate the dates' naturally occurring sweetness. Use salt of any kind, except table salt. If the almond butter you are using already contains salt, you may not need to add any more. Creamy Almond Butter is my go-to choice for almond butter, and my favorite brand is Trader Joe's. It offers the best flavor for the lowest possible cost. If you cannot obtain the Trader Joe's brand, you can either make your own or buy a different brand in which the only ingredients are almonds and salt. Dates: Use large, supple Medjool dates for the smoothest mouthfeel and tastiest flavor. I purchase my Natural Delights from Costco, which carries the brand name.
Sweet, salty, and satiating all in one bite. You only need THREE ingredients (including salt) and less than five minutes of your valuable time to make these Salted Almond Butter Stuffed Dates. They will satisfy all of your cravings for sweet foods. The "recipe" for the easiest sweet treat you'll ever make!
Dates are nothing short of culinary alchemy, and I can't believe I went through life ignorant of their existence for so long. Although they are technically a fruit originating from the date palm, their flavor is very similar to candy's.
Dates still contain a significant amount of their naturally occurring sugars, possibly more than any other type of fruit. They have a high-calorie count, but when consumed in moderation, almost anyone can enjoy them, regardless of their eating habits or preferences. In a strict sense, you can consume them while following the Whole30 diet plan.
Dates are the ideal ingredient to use whenever you need to sweeten something while ensuring it stays in your baking; I've recently started incorporating them into my recipes. In addition, they can be used to sweeten smoothies, baked goods, and even savory dishes, all without adding any processed sugar (see what I did there?).
What exactly makes these dates stuffed with salted almond butter so delicious?
Taste – these things taste like a Snickers bar or something else equally as desserty ingredients – just two plus the salt, it can't get any easier than that quick – taste – these things taste like a Snickers bar or something else equally as desserty you can go from ingredients to dessert in your mouth in two minutes or less or almost any diet-friendly – vegan, dairy free, Whole30, paleo, you name it, as long as your almond butter is just almonds and salt and you are not stuffing your face with ten of these a day, they work for everyone!
What varieties of dates do you typically eat?
You should use Medjool dates for this "recipe," preferably with the pits still inside. Medjool dates are the largest and most tender of the bunch compared to other date varieties, making them the ideal choice for stuffing and eating.
In my experience, pitted dates are drier and less soft than others. Although they are still delicious, eating them plain is not the best option.
Before you can stuff the dates, you must remove the pits, which is very straightforward. To stuff the date, you will need to cut it open anyway, so removing the pit is a quick additional step that should only take about five seconds. I think it is money well spent for a date that is ten times more exciting.
What kind of nut butter do you make with the almonds?
Trader Joe's Creamy Almond Butter is, in my opinion, the best almond butter that can be found anywhere, and it comes highly recommended by me.
If you are unable to obtain the Trader Joe's brand, the following characteristics should be present in your almond butter:
- ONLY TWO INGREDIENTS should be used: roasted almonds and salt. This ensures no added sugar or additives, keeping it healthier than before. There is no requirement for additional oil to be added.
- CREAMY VS. CRUNCHY: This choice is entirely up to you, but I always go for creamy. My opinion is that this has the best taste and texture. Suitable for stuffing into dates. Extra drippy and delicious.
How exactly does one go about extracting the pit from the dates?
- Cut lengthwise through the middle of the date with a sharp, small knife.
- You can open the date with your fingers, but don't pull the two halves apart.
- Take out the stone. Easy!
Alternate versions of the recipe for these Almond Butter Stuffed Dates are as follows:
This "recipe" is merely a guide to get you started! If you want to take your dessert Stuffed Dates to the next level, you can try some of these ideas, which are listed below:
Alternatively, you could use peanut butter or another type of nut butter instead of almond butter, stuff it with whole almonds rather than almond butter, drizzle it with melted chocolate, and top it with a strawberry slice for the fancy version.
Avocado Chocolate Mousse
Prep Time: 5 minutes
Total Time: 5 minutes
Yield: 4 servings
Ingredients
- Avocado meat from two ripe avocados (about 240 grams).
- 1/4 cup regular cocoa powder
- 1/4 cup chocolate chips that have been melted OR Dutch cocoa
- 3 to 4 tablespoons of milk of your choice
- 1/2 tsp pure vanilla extract
- 1/8 teaspoon of salt and your preferred amount of sweetener, depending on taste (I like 1/4 cup of pure maple syrup).
Instructions
**There are two different ways you can approach this recipe: The version that contains chocolate chips will have a deeper flavor, while the version that contains Dutch cocoa (it is essential to use Dutch cocoa) will have fewer calories, less fat, and less sugar. Blend or process all ingredients in a food processor or blender until they are completely smooth. (The recipe will be demonstrated in the video that can be found above.) I used three tablespoons of almond milk, but if you're not adding any liquid sweetener, you might want to add a little more so that the mixture has a smoother texture. If you decide to make it, don't forget to comment or rate the recipe below after trying it!
This healthy recipe will take you by surprise if you have never tried avocado chocolate mousse.
It is luxurious and has a velvety texture... Moreover, the avocado flavor is not discernible at all.
Exceptionally Good for You Chocolate Avocado Mousse
The concept of avocado chocolate mousse has been popular in the health food scene for years, but unfortunately, some of the recipes that are out there are so terrible that they only prove true the claim that avocado chocolate mousse is either too strange or too healthy to really be considered a dessert.
The most amazing thing about this avocado chocolate mousse is that even though it tastes decadent and naughty, it simultaneously provides a wealth of beneficial nutrients for your body!
One serving of this superfood provides eight percent of the daily value of fiber. Fiber is a nutrient that gives you the feeling of being full and has also been found to potentially reduce the risk of developing type 2 diabetes. Avocados are cholesterol-free and contribute nearly 20 vitamins, minerals, and phytonutrients. In addition, avocados do not contain any cholesterol.
Avocados have the lowest sugar per serving of any fruit, with less than one gram of sugar per ounce. Additionally, avocados serve as a "nutrient booster" by assisting the body in better absorbing fat-soluble nutrients.
Healthy Banana Bread
Prep Time: 10 minutes
Cook Time: 40 minutes
Total Time: 50 minutes
Yield: 12 – 16 slices
Ingredients
- 2 cups of flour, either white, spelled, or oat (240 grams).
- 1 tsp baking soda
- 3/4 tsp baking powder
- The optional salt content of 3/4 teaspoon, optional 1/2 milligram of cinnamon, 1/2 cup mini chocolate chips
- 1 and a half cups (360g) of mashed ripe bananas.
- 1/2 cup of yogurt or one more banana
- 1/2 cup of natural sweeteners such as maple syrup, honey, or agave
- 1/3 cup of your preferred milk or oil.
- 2 tsp pure vanilla extract
Instructions
*Also, make sure you give this recipe for banana muffins a shot!
Turn the oven temperature up to 350 degrees F. Grease or line a 9x5 loaf pan with parchment paper and set aside. In a bowl, combine all of the dry ingredients. Whisk liquid ingredients in a separate bowl. Combine the wet and dry ingredients while stirring to make a batter. Spread evenly into the pan that has been prepared. Put some chocolate chips on top if you'd like, but it's not required. Bake on the center rack for forty minutes, then turn off the heat but do not open the oven door; let the dish rest in the closed oven for ten more minutes. If your bread is not fully cooked, cover the top with aluminum foil to finish cooking it. After turning the oven back on, continue baking for another 5 minutes at the same temperature, checking the center of the dish with a toothpick to see if it is done. Allow to reach room temperature. Cover and place in the refrigerator for the night. The flavor and the texture are significantly enhanced by the second day (and even more so by the third day, when the sweetness has fully developed). You can slice up any leftovers and store them in the freezer for up to a month.
Everyone is always surprised to learn that this super healthy banana bread recipe is good for you because it has a deliciously sweet and moist texture.
Banana bread is a wholesome option for breakfast or snack time
The recipe does not require oil, eggs, or dairy products, and it does not call for refined sugar.
It uses a full one-and-a-half cups of mashed bananas in the loaf, which not only helps reduce the amount of oil used without sacrificing the loaf's moisture or flavor but also makes the banana bread recipe sweeter without adding any more additional sugar or empty calories.
This oil-free banana bread is an exception to the rule, as most people do not prefer eating baked goods that do not contain oil. If you don't want to use any oil, you can easily leave out the coconut or vegetable oil, and the result will still be amazingly soft and delicious!
This lightened-up healthy banana bread recipe cuts way back on the things you don't want by a significant amount, in contrast to many traditional banana bread recipes that call for at least a cup of refined sugar and a half cup of butter or more.
In their place, it uses whole grains and other ingredients that are beneficial to your health, as well as additional potassium-rich bananas for natural sweetness.
Banana bread is made with whole grains and just bananas.
This low-calorie, healthy banana bread is the perfect solution if you have overripe bananas sitting on the counter and are at a loss for how to use them.
The addition of yogurt to the recipe results in a loaf of bread that is even softer, but it does not make the bread heavier. In addition to that, it is sweetened not with refined sugar but with pure maple syrup.
Because of the additional banana, the sweetener required for the entire banana bread recipe is only a half cup. This is approximately half of what is required in several widely used recipes for banana bread, including those from Martha Stewart, Food Network, Rachael Ray, Betty Crocker, and others.
Banana loaf ingredients
The nutritious banana bread calls for the following standard ingredients: flour, baking soda and baking powder, salt, cinnamon, plain yogurt or non-dairy yogurt, pure vanilla extract, and your preferred sweetener in addition to the bananas.
When it comes to flour, you have a few options: all-purpose flour, white or whole grain spelled flour, or whole wheat pastry flour are all good choices. Although the loaf produced using whole wheat flour is more dense than I prefer, I know some readers prefer it that way. Therefore, the decision is entirely up to you.
The recipe can be used to make wheat-free or gluten-free banana bread by substituting oat flour or certified gluten-free oat flour for the wheat flour. The resulting bread is called an oatmeal banana bread.
In conclusion, if you want to turn this recipe into a high-protein snack option, you can substitute protein powder for up to half a cup of the flour in the recipe.
The sugar coating: Choose any liquid sweetener, such as pure maple syrup, agave, or honey. They're all good options. The entire loaf only requires a half cup of the topping!
Ingredients not required: the traditional banana bread is simple to adapt to your tastes. Include half a cup of mini chocolate chips, raisins, or another type of chopped dried fruit, shredded coconut, or crushed walnuts or pecans in the recipe. In addition to that, I like to put in a quarter of a teaspoon of cinnamon.
Is it possible to make vegan banana bread using the healthy recipe?
This recipe is already vegan because it calls for non-dairy yogurt to be used in its preparation.
When you make this recipe, you can use any vegan homemade Greek yogurt you like, but you can also use plain yogurt that is not Greek, and it will work just fine.
Yogurts made from plant-based milk such as coconut milk, cashew milk, soy milk, and almond milk have all been used successfully by our readers. Therefore, you are free to use any type that you prefer.
You are even free to experiment with different flavors if you so choose. If you're looking for a flavor twist that's both fun and subtle, give strawberry, peach, or even blueberry yogurt a shot.
Instructions for making banana bread
If you have any leftover banana bread after baking it, you can slice it and store it in the freezer to have a quick breakfast or snack whenever you crave banana bread.
Set the oven temperature to 350 degrees Fahrenheit while it preheats. Prepare a loaf pan that is 9 by 5 inches and either grease it or line it with parchment paper.
Put all the dry ingredients into a large mixing bowl and give them a good stir to ensure an even distribution of the ingredients and break up any clumps of baking soda or salt.
After combining the liquid ingredients in a separate bowl using a whisk, transfer them to the mixing bowl with the dry ingredients and stir until a batter is formed.
Spread evenly in the baking pan that has been prepared. Place the pan on the center rack of the oven, and if you feel so inclined, press a few chocolate chips onto the surface of the bars.
Bake for 40 minutes. After the allotted time has passed, do not open the oven door and turn off the heat. Allow the banana loaf to remain inside the closed oven for ten more minutes in order to complete the cooking process. After that, take it out of the oven.
When the bread is ready, it can be tested by inserting a toothpick into the middle of the loaf and seeing if it comes out mostly clean. If yours is still raw in the middle, all you need to do is turn the oven back on and continue baking, checking it every five minutes until it is puffed up and golden brown.
Let it cool. Because the flavor and consistency are both enhanced the following day, I prefer to store the banana bread in the refrigerator overnight after covering it only loosely.
You can store any leftover banana bread in the refrigerator for three to four days, or you can slice it and freeze it for up to two months.
Final Thoughts
Lash artists should take care of their bodies and health. This means having a healthy diet. These were some healthy snacks for you to make. I hope you find it delicious!